No matter what your solar project looks like, we are big fans. Installing solar is subsidizing your expenses for a lifetime, so congratulations on investing in your future. Good work!
Now let’s get into the nitty gritty about how environment plays a role in your experience and the possible upgrades that may be advantageous. Spending more money doesn’t always get you a better result, so let’s discuss some thoughtful upgrades and why you might pursue them.
All solar panels perform best when they’re (no surprise) in the sun! A panel in an open field with no obstacles will perform optimally. But real life isn’t prime conditions, and if your project has even a tiny obstacle like a tree, telephone pole, or unpredictable weather, you might benefit from some simple upgrades.
Simply put, there are ways to optimize your solar project for an imperfect environment. Here are a few:
Half-cell
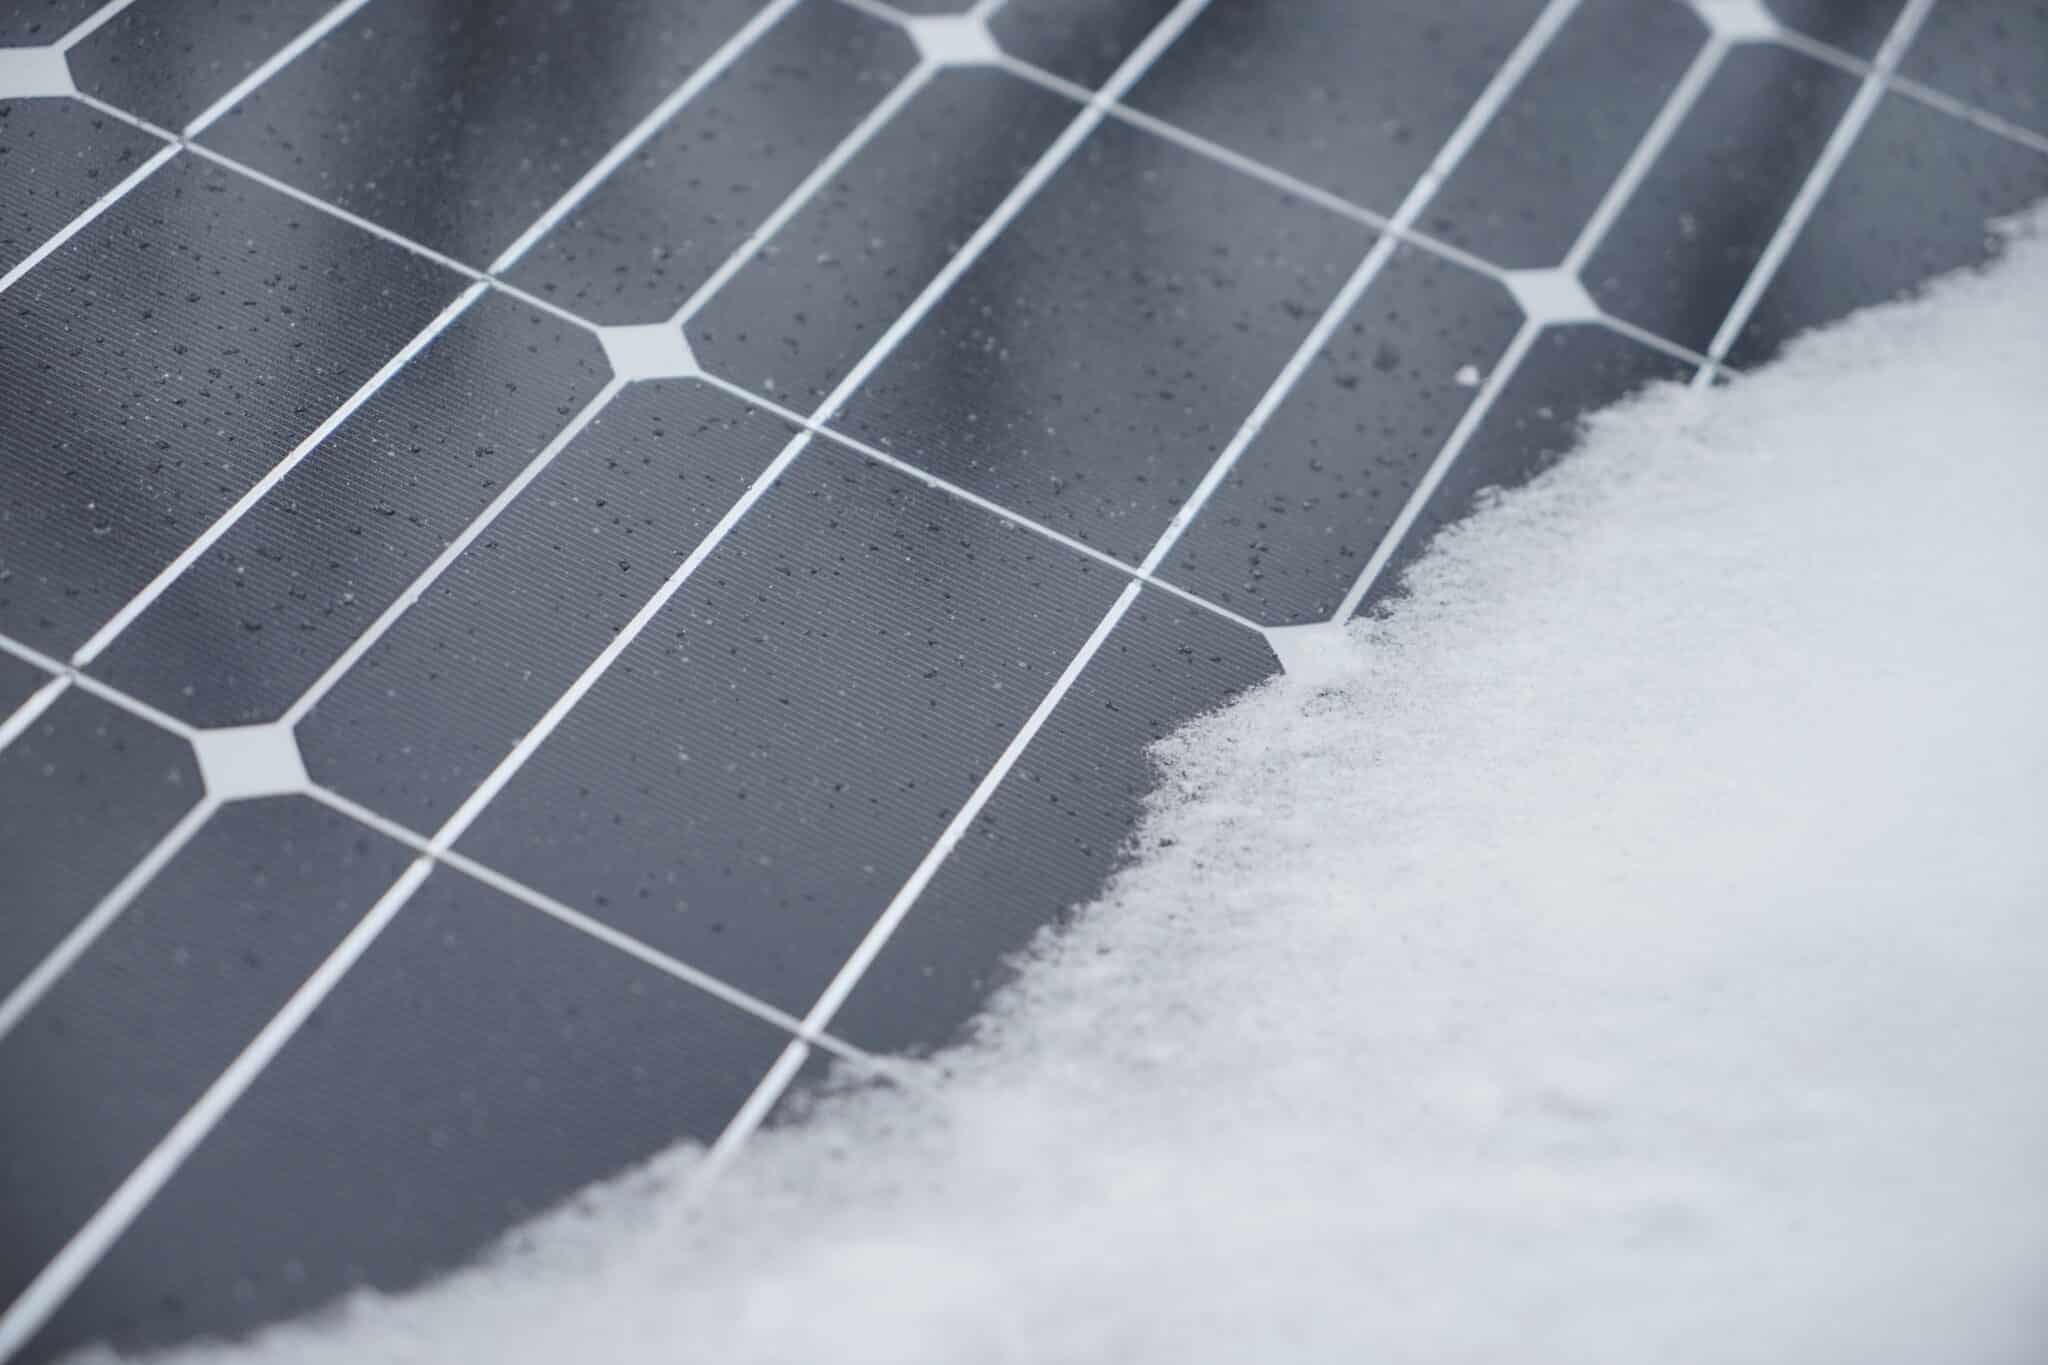
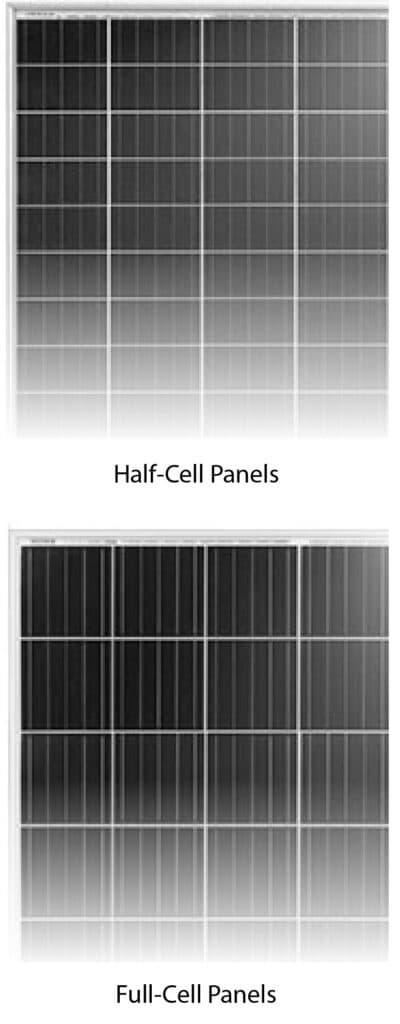
The typical solar panel is a “full-cell” panel. These are the bread and butter of solar, and most companies offer a product like this. These are the most common, easiest to produce and the least expensive. “Full-cell” panels function optimally in 100% sun conditions, but if there’s any shading on even one part of one cell, the entire circuit takes a hit. It’s possible that one leaf could knock out nearly an entire panel.
Luckily, a more forgiving option called “half-cell” panels is readily available. Due to some innovation with the wiring design, shading these panels has substantially less impact. This technology is way more forgiving in an imperfect environment, and is growing in popularity.
If you are interested in half-cell products, this Jinko Solar Article does a great job of breaking down the benefits.
Horizontal vs vertical
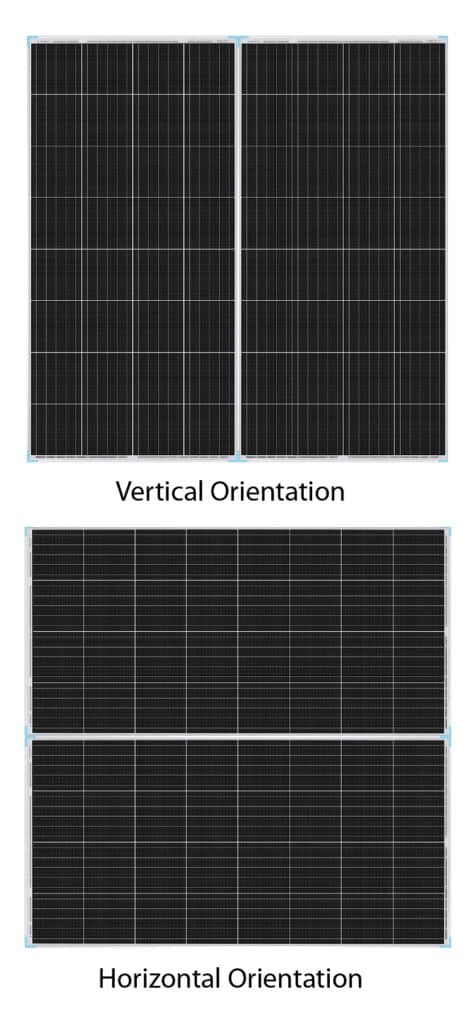
It probably comes as a surprise that hanging panels vertical and horizontal makes a difference to their performance. This helps by explaining how a panel is wired.
Typically, a standard full-cell panel is wired from left to right, and top to bottom. Each long row has a total power output. That means that if the panel is hung vertically and an obstruction lands on the bottom edge of the panel, the entire panel is wiped out and produces no power.
With a vertical half-cell panel, the top and bottom halves are wired separately, so vertical orientation takes advantage of the specialized wiring. If an obstruction lands on the bottom row, only half of the panel is impacted.
Since it’s most likely that snow, dust and leaves will congregate in the bottom edge, you can minimize the impact by accommodating the inevitable. Each type of panel is wired differently, so consult with your panel’s wiring diagram before determining what’s best for your situation.
Roof Positioning
Most solar projects consist of a stationary array in one area of the roof facing roughly south. This is easiest to install, cheapest to operate and also the most efficient use of space, so it’s extremely logical. This type of install produces a bell curve that peaks at the height of the shining sun around noon, and the 4kw system usually can max out the 4kw inverter for an hour.
Some commercial panels widen this striking bell curve by rotating the panels on an axis to follow the sun. A field of panels mimics sunflowers, chasing the Sun from dawn till dusk with the help of air pressure, wax or motors. For a typical home install, this is impractical.
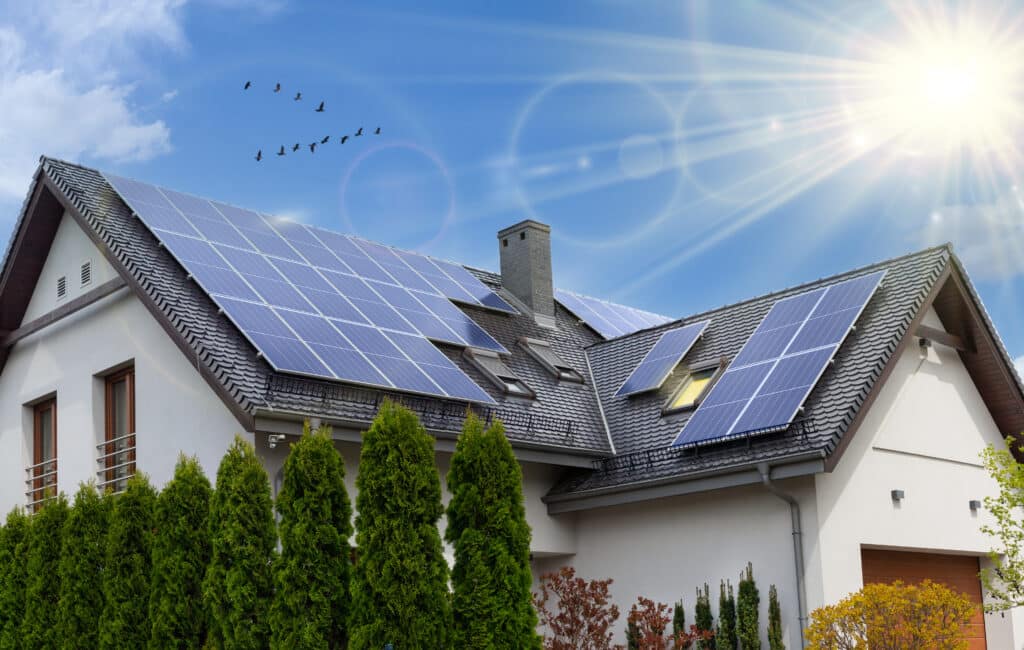
To get a similar result with stationary panels, we get creative. Envision a scenario with panels are on every surface, including the east, south, and west faces of your roof too. Now your array is receiving light at different times of day – dawn, noon and dusk. In these conditions, the bell curve widens, your coverage period is extended and you generate power for more of the day. You may have a 10kw system, but only produce about 4kw at a time for 4 hours instead of 1. As a bonus, you’re extending your power generation window, so if a cloud goes by at noon, your power generation is not totally tanked for the day.
Simply put, adding panels at every direction enhances the odds for success, and your overall power output.
Silicon vs Thin Film
Silicon framed panels are the most popular and affordable solar panel technology. They outperform every panel variety in optimal conditions.
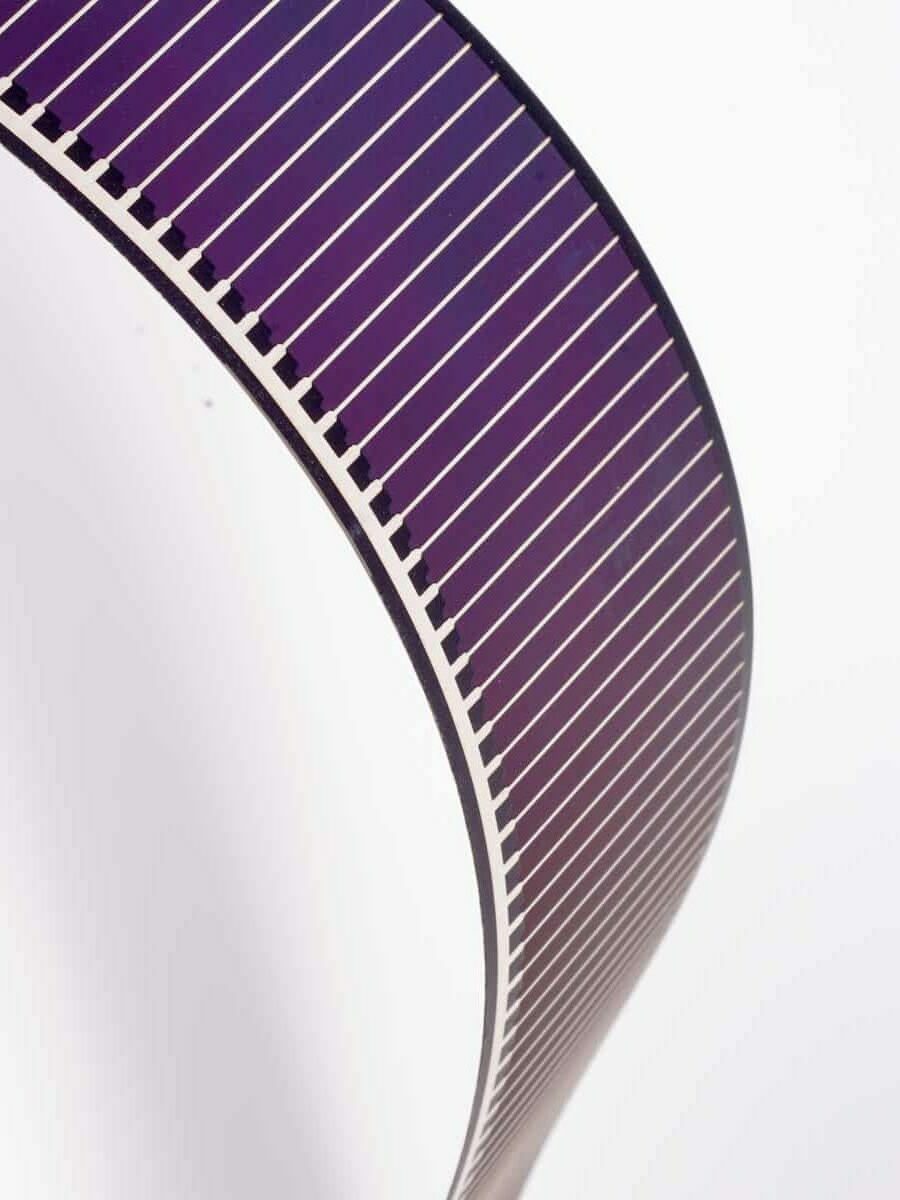
But If you have conditions where you expect partial and low sun conditions, you may want to consider the underdog, “thin-film panels”. Although these panels are not quite an effective in perfect conditions, they are able to harness a wider spectrum of light which allows them to outperform silicon on a shady day. If your conditions are rarely optimal, you may want a panel that can handle a variety of light conditions.

Critters
We never considered how hospitable a solar array was until the pigeons and squirrels made it a home!
Apparently wires are often coated in nut oils that taste good to critters, which encourages them to nibble at your wires.
Nesting birds love the security and warm, and might settle in for the long-haul. Before you have to evict your new destructive squatters, we strongly recommend taking precautions with a critter-guard upgrade.
Lifetime Performance
Comparing panels is complicated, but all panels come with a 25-year lifetime degradation expectation, which indicates the reliability of the panel. The best we’ve come across is 92% after 25-years. The worst we’ve seen in somewhere around 80%. If you are comparing panels, take note of this statistic for an easy metric to help determine if your panel is good quality straight from the factory.
Conclusion
At the end of the day, it’s important to remember that getting solar at all is going to be an improvement to your energy use.
If you want to get the most out of your system, we’ve outlined some ways to optimize based on the real world, including:
- Selecting half-cell panels
- Hanging your full-cell panels horizontally
- Selecting multiple roof locations
- Considering thin-film panels
- Protecting from animals
- Selecting panels with long-lasting performance
If you’re diagnosing challenges, maybe this will help shed some light on your circumstances. If you have questions, or have some recommended additions, we’d love to hear from you. Good luck with your solar install, and keep those electronics flowing!

